2020: A Year to Forget
As a dedicated bowhunter, the thought of driving dirt roads and looking for deer runs counter to everything I love about deer hunting. It took a dreary year like 2020 to push me to such detestable methods.
I beat myself ragged trying to find a buck in Utah that season. My usual public land area was swarming with stir-crazy city-folk fleeing the pandemic. All that commotion in the mountains drove big bucks back to their private land haunts and my hunt ended in failure.
Off to Idaho
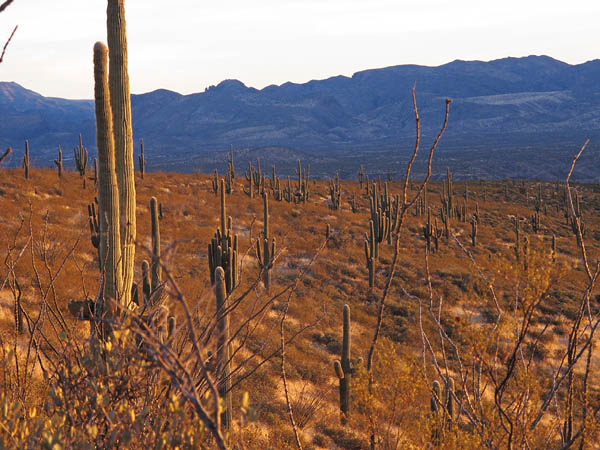
When the hunt ended I turned my attention to Idaho where five years earlier I took an incredible trophy buck. With high hopes Esther and I loaded the truck and headed to Southern Idaho for last two weeks of bow season.
Upon arrival I was dismayed to see my beloved deer unit overrun by thousands of sheep. Severe drought and waves of sheep had decimated the deer habitat, and for ten days I couldn’t to turn up a single good buck. With only three days left and desperate for meat, I decided to take a doe.
Doe Hunting
I’d seen plenty of does running around, and I expected an easy, one-day endeavor. Boy was I wrong. On the evening of the 28th I hiked up a ridge with plenty of deer sign. A group of six does appeared feeding on a steep, wooded slope.
Just as I entered bow range, a woodpecker flew into a dead pine tree next to me. There was a small crack, and then a large branch came crashing to the ground next to me. Not surprisingly, the entire doe group spooked out of the area.
No problem, I still had two days left.
More Bad Luck
In the morning I headed back up the mountain. I was slowly picking my way through a patch of dry brush when a group of does appeared in front of me. I crouched down quickly and pulled an arrow. The wind was perfect and the does were oblivious to my presence.
Suddenly, the whole herd exploded in all directions and ran away. Flabbergasted, I stood up to see a pack of coyotes filtering through the brush. I was enraged and I launched an arrow at one of the intruders, but my arrow skipped off a branch and missed.
Perhaps I was trying too hard. It’s just a doe, after all! That evening I set up ambush on a roadside waterhole. Earlier in the hunt I’d seen deer near the water and figured it would be a good ambush spot.
The mountain was falling into shadows as I sat motionless 30 yards from the water’s edge. The pond was surrounded by trees, so a deer could approach from any direction.
I was lost in thought when I heard a light crunch behind me. Slowly I turned my head and saw a big doe pop out of the trees just 10 yards away. Before I could raise my bow, the doe snorted and bounded off. Of all the places to sit; what terrible luck! With only two hours of light left I called Esther to pick me up.
A Time to Road Hunt
No more mister nice-guy; desperate times call for desperate measures. Creeping around the cruel woods and sitting water had proved fruitless. It was time for some good old-fashion road hunting. Everyone knows that deer are much less concerned by slow-driving vehicles than camo-clad hunters.
We pulled onto a side road next to a big mud puddle left over from a past rainstorm. I didn’t think much of it because there was a camp full of drunken miscreants nearby blasting hip-hop music over their smoky campfire.
You can imagine my surprise when I spotted a lone doe standing on a hillside 100 yards away and looking longingly at the water. Clearly she was waiting for darkness to make a quick water run. With this in mind, we drove a short distance up the road. Once out of sight I hopped out and instructed Esther to drive further up the road and wait.
Racing against nightfall, I dropped into the timber and backtracked towards the water. It was so quiet that I couldn’t even shift my weight without crunching pine needles. Now I was stuck. I balanced my feet on two dried cow pies to muffle my footing and waited.
With only minutes of light left I began to wonder if the doe was going to show. Suddenly she appeared, silently weaving through the trees 15 yards in front of me. In a steady, slow movement I raised my bow and drew back.
The doe caught the end of my draw and jerked her head up in fright. Before she could whirl, my arrow was off, catching her in the shoulder. She spun around and crashed headlong into a Christmas tree, then got her feet and bounded away.
After confirming a good blood trail, I radioed Esther. Before I could get a word out she told about a doe she just saw by the truck.
“I don’t care about that, I just shot one! Come help me track it.”
Tracking Effort
The doe ran away so fast that the blood trail petered out quickly. The dug-in tracks led through the sagebrush and then crossed the dirt road, it’s hooves touching only once in the dust on the road before disappearing in some rocky terrain.
Three hours passed as we continually backtracked and crawled forward on hands and knees trying to find the next track or sign. We split up and wandered in ever-widening circles, but to no avail. How could this mortally hit animal elude us?
There was no choice but to back out and return in the morning. Coyotes howled in the distance as we walked back to the truck making me uneasy about leaving the deer overnight. Esther suddenly stopped and asked, “Hey can we just check one thing first?”
“What?”
“I wanna check where that doe popped out by the truck?” Could it be the same deer, she wondered?
I was doubtful, but the timing was uncanny. We turned around and walked back to the truck turnaround spot. On the way I interrogated Esther. “What was the deer doing? Was it running? Did it look hit?”
“No,” she replied, “It just walked out of the trees, saw the truck, and went back into the trees.”
“Well, we better take a look.”
Happy Ending
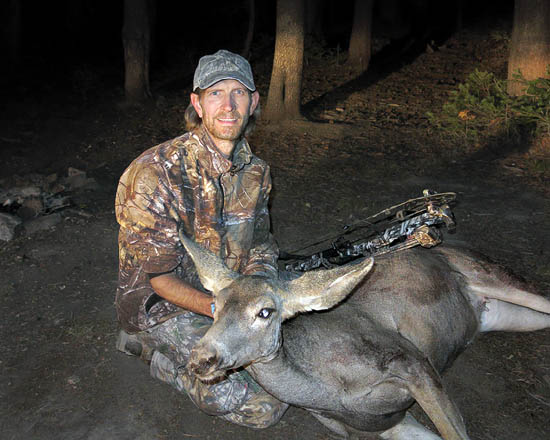
A minute later we arrived at the flat spot where Esther had parked. She showed me where the deer was standing, but there was no blood. Discouraged, we began walking in circles and you can imagine my surprise when I nearly tripped over the doe lying less than 20 yards from where she’d parked. What were the odds of my deer running 300 yards and expiring right next to the truck?
It’s been a long time since I’ve been proud of taking a doe, but that deer got us through the winter and was just what I needed after 37 fruitless days afield. As it turns out, adventure can be found just off the side of the road. Perhaps I won’t be so quick to disparage the fine art of road hunting in the future.
The End